
No solder. No crimps. No wire made on site.
Every Chameleon light, wire and tee arrives with waterproof twist-lock connectors (mini-X) already on. You drill, route and twist, and the snap-on track hides it all — no wires or screws show.
How the parts go together, for homeowners doing their own kit and pros alike. Six short parts. Not a certification — nothing to pass.
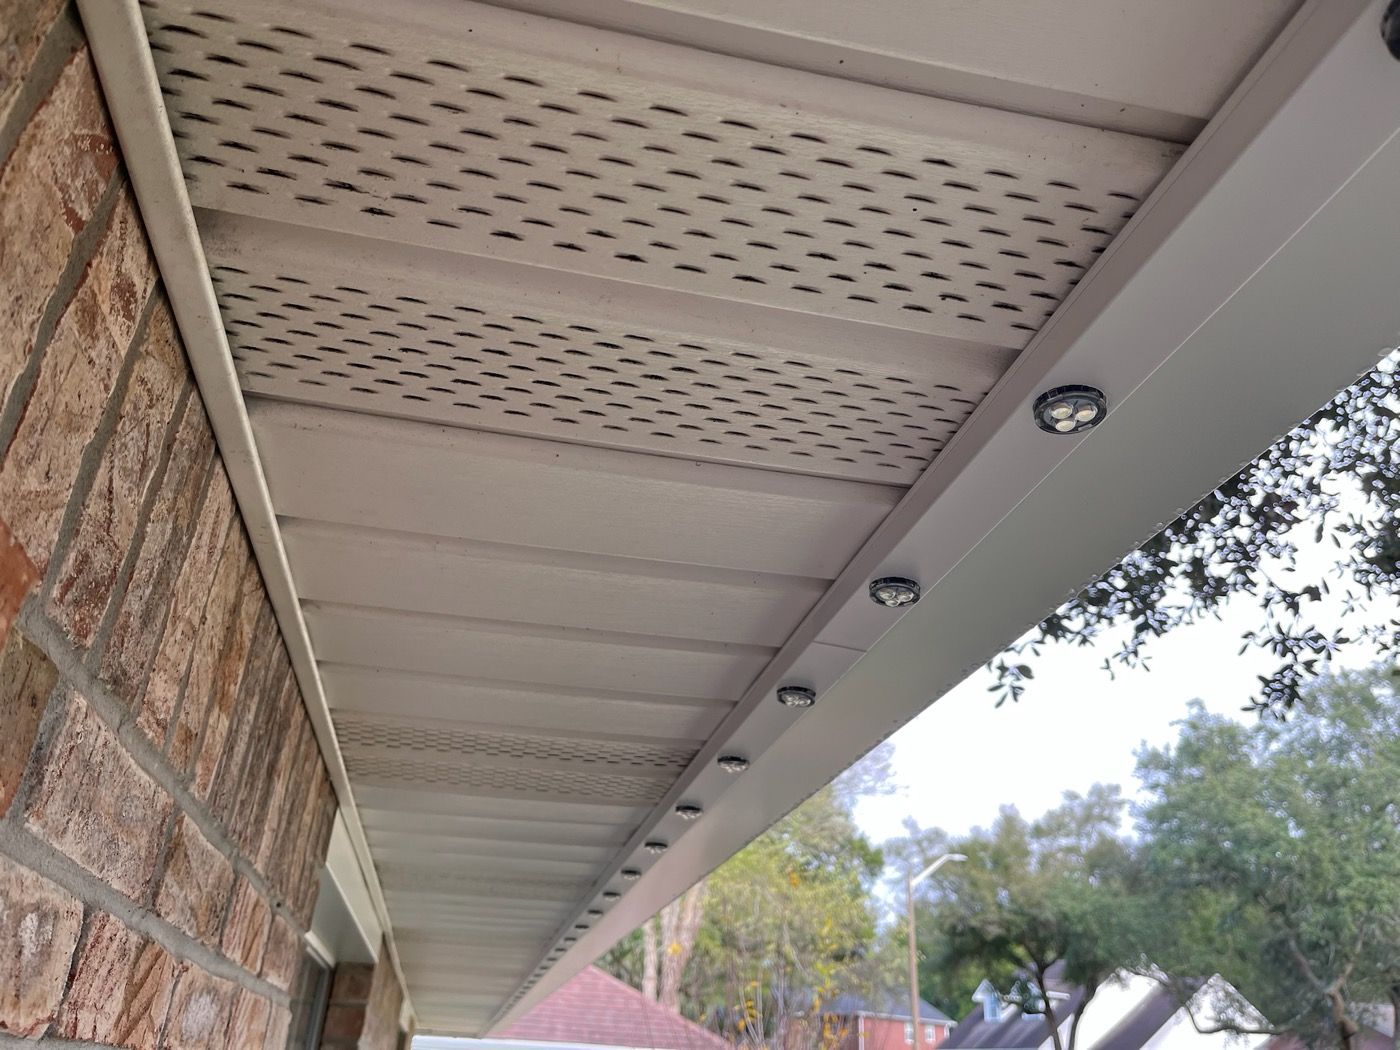
Hurricane-tested. Every Chameleon install in the Florida panhandle came through Hurricane Isaias without a single light falling off.
Six parts, in the order you’ll need them
Read 1–3 before you order or climb. Bring 4 and 5 on install day.
Already up? Set up the controller in the app with the Get Started guide.
Plan it, gather it, stay safe
Plan the job
- Measure each roofline run. The lighting calculator gives lights, kits and every tee spot.
- Sketch the house: where each run starts, where its cable enters, and every 75th light.
- Breaks in the roofline make natural channels — and zones in the app.
- Pick the controller spot: a garage wall near an outlet, with good home Wi‑Fi.
Tools & materials
- Drill with a 5/8″ bit, and a stud finder
- Fish rod (like this Klein set)
- #9 × 1″ hex-washer screws, 2–3 per backtrack
- A way to cut and miter aluminum track
- Ladders, and tape to label cable ends
- A phone with the Chameleon app
Safety
- Two people for ladder work and running lights.
- Do attic work early, before it heats up.
- Before drilling, check for existing wiring and pipes.
- Keep Chameleon cable away from the house’s AC wiring.
Check your local licensing. Even though the system is low voltage, some U.S. locations may require a low-voltage license to install it. Check your city, county and state.
Your job, your responsibility. The installer, not Chameleon, is responsible for the work, carries their own insurance and assumes all risk.